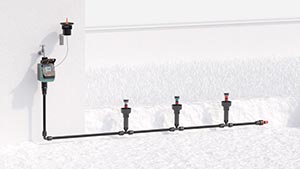
All lines
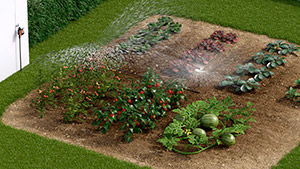
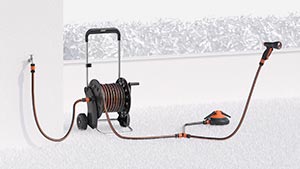
Above-ground

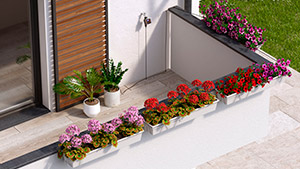
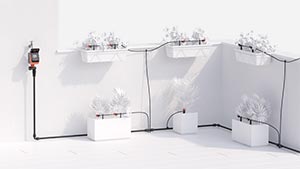
Drip irrigation

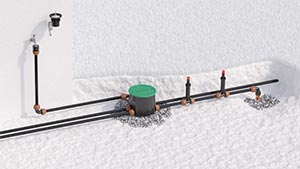
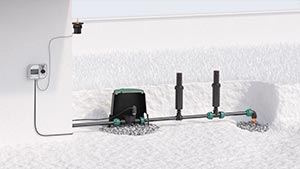
Underground

Online catalogue
Do not install the water timer inside valve boxes, below ground level or indoors. Do not use the water timer with chemicals or liquids other than water. Do not use the water timer with operating pressures lower than 0.5 bar (7.3 psi) or higher than 10 bar (145 psi).
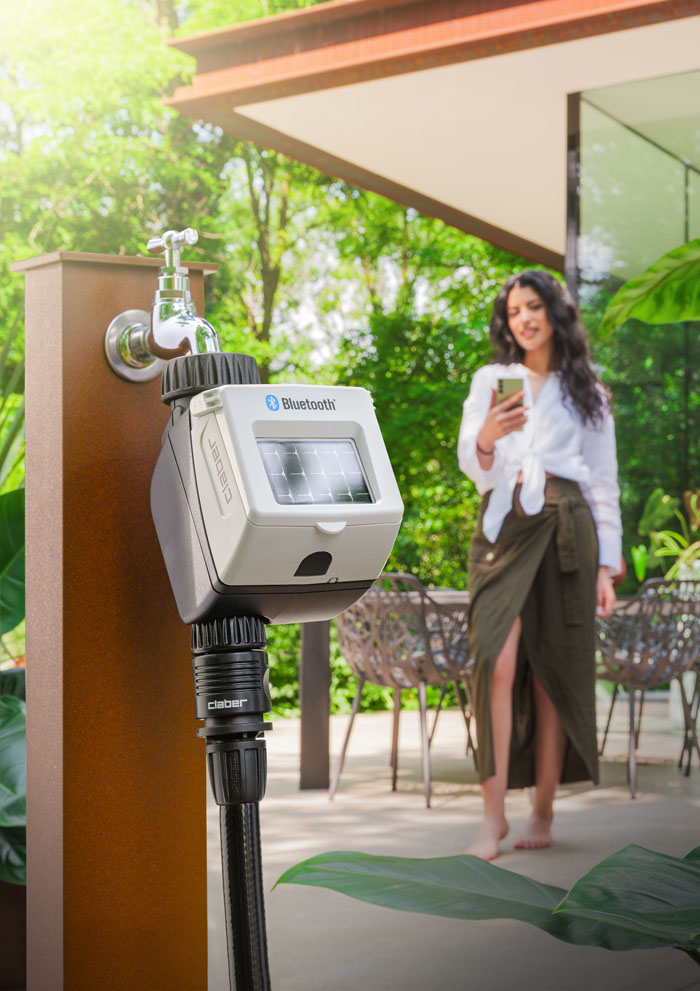
Connect the timer to the tap.
Connect the hose on the watering line.
Press the two side buttons to open the timer.
Insert a new, branded 9V alkaline battery. The LED lights up green during operation.
Important: remember to turn on the water tap.
As soon as the battery is connected, the display switches on, the valve runs a test cycle and the timer is set to 00:00.
Press the middle ENTER button; “OK” will show on the screen to indicate that you can now enter the time.
Press one of the arrows to set the time. Press and hold the arrow to speed up programming.
Once you have entered the time, press ENTER to confirm.
Press the right arrow. Press the arrows to position the cursor below the current day, considering the values shown in the table.
In this example, the cursor is positioned under number 5, therefore the day is Thursday. Press ENTER to confirm. The message OK will disappear and the current day and time will appear on the display.
The timer allows you to water along two lines, A and B. Up to 3 programmes can be set on each line: line A, programmes 1-3-5; line B, programmes 2-4-6, for a total of 6 daily irrigation programmes.
Note: all programmes are set in the same way. Programmes must be entered in chronological order, within a 24-hour timeframe. The timer automatically advances by 1 minute with respect to the set time, both when OPEN and CLOSED.
Note: if the symbol is flashing, this means the timer is waiting for a command. Press any button.
fter setting the day and time (e.g. 10:42, Thursday no. 5), press the right arrow to open the page for programme 1 on line A. The time 00:00 will show, preceded by a 1 (for programme 1). Press the middle ENTER button.
You will see “OK” on the screen, meaning the opening time can be set using the arrows (e.g. 05:00). You will see a 1 (for programme 1) at the top of the screen. Confirm the time by pressing ENTER.
Press the right arrow to go to the page “CLOSED”. The timer automatically suggests a closing time 1 minute after the opening time set (e.g. opening at 05:00, suggested closing time 05:01). The time has a 1 before it (for programme 1). Press ENTER.
You will see “OK” on the screen, meaning the closing time can be set using the arrows (e.g. 05:20). Confirm the time by pressing ENTER.
Press the right arrow to open the first programming page (programme 2) for line B. The time 00:00 OPEN will show on the screen, preceded by a 2 (for programme 2). Press ENTER.
You will see “OK” on the screen, meaning the opening time can be set. The timer automatically suggests an opening time 1 minute after the closing time set (for programme 1, 05:21). Use the arrows to choose the desired opening time (e.g. 05:50). You will see a 2 (for programme 2) at the top of the screen. Confirm the time by pressing ENTER.
To close programme 2, follow the same procedure as for programme 1.
To set the opening/closing times for the remaining programmes (3-5 A; 4-6 B), repeat the steps above.
Press the right arrow to open the weekly programming page. Press ENTER to select the days on which you want to irrigate.
Use the arrows to position the cursor under the day you want to enable or disable and press ENTER. Note: the day settings apply to both lines.
Position the cursor under EXIT. Press ENTER.
Use the right arrow to open the manual programming page. Manual programming is useful for running an additional irrigation cycle, without deleting the programmes set. The timer automatically sets an irrigation run time of 15 minutes. Press ENTER. Use the left arrow to start irrigating. Each time the left-hand button is pressed, the irrigation time increases by 5 minutes up to a maximum of 60 minutes.
To interrupt the cycle before the end, press the right arrow and then ENTER.
Press the right arrow to open the manual programming page for line B. Use the right arrow to return to the initial page (day/time).
To delete a programme, go to CLOSED mode for the programme you want to delete.
Press ENTER, then press the two arrows together.
To fully reset the timer, press and hold the two arrow buttons together for at least 10 seconds, until 00:00 shows on the display.
You can connect the Rain Sensor (code 90915) to the timer.
Remove the bridge connector on the timer.
Insert the Rain Sensor connector.
Irrigation will not start if the Rain Sensor container is full (at least 5 mm of rainfall). If there is an irrigation cycle in progress, this is stopped within a minute of the container being filled.
Warning: if neither the jumper nor the Rain Sensor connector are connected, the timer will only run manual irrigation programmes and not any automatic irrigation programmes.
Clean the filter at the end of each season and check it regularly.
Turn off the water tap and loosen the screw collar, turning anticlockwise.
Loosen the 3/4" screw collar of the tap connector, turning clockwise.
Remove the filter. Rinse the filter clean under running water. After washing, reassemble all parts as before.
To clean the internal components properly, please see the
diagram showing the mechanical parts to be disassembled/ reassembled at the end of the season
.
At the end of the season, before the winter frosts, disconnect the timer from the tap.
Remove the battery.
Store the timer in a sheltered place, away from damp, where the temperature does not fall below 3°C.