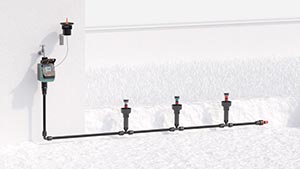
All lines
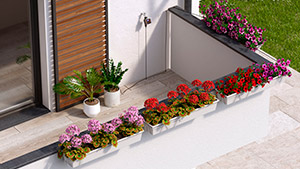
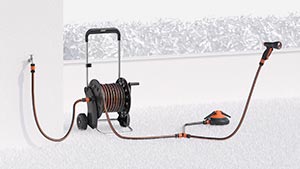
Above-ground

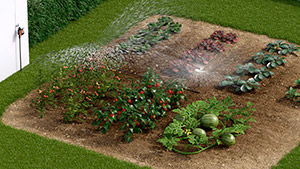
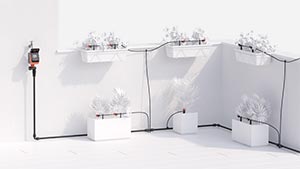
Drip irrigation

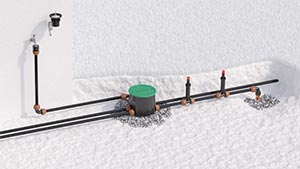
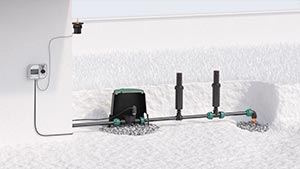
Underground

Online catalogue

A) Nozzle operating position
B) Jet adjustment screw
C) Slot to insert key or screwdriver to select the nozzle
D) Indicator of operating arc
E) Irrigation area adjustment
F) Hole for pulling up the turret
G) Key
Pull the turret up and turn it anti-clockwise with your hands (1-2), without forcing it (3) until you reach the stop,
then turn it clockwise (4) without forcing it, until it stops again. This is the adjustment starting point. The sprinkler will start operating from this point, turning anticlockwise.
Insert the key in slot “E”.
To increase the irrigation area: hold the turret still with your hand and turn the key clockwise until indicator “D” is pointing at the required irrigation angle.
To decrease the irrigation area: hold the turret still and turn the key anticlockwise.
In the pulled up position, insert the key supplied, or a flat screwdriver, in the hole to select the nozzle on the top of the turbine. Turn the key or screwdriver to choose the required nozzle according to the operating angle set.
Screw the sprinkler onto the 3/4” threaded extension on the irrigation line,
adjusting the height to be at ground level.
Turn the central body of the sprinkler. In the pulled up position, hold the central body below the turret and, with the nozzle in the start position, turn it to the required start position.
Important: never hold the sprinkler by the turret. Hold the sprinkler still only by grabbing the central body below the turret. Once the start position has been determined, follow the instructions to increase or decrease the irrigation area, as described above. The latter operation can be done to adjust the sprinkler also when operating or already underground.
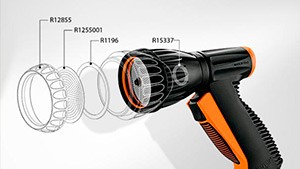
Unscrew the ring nut and pull out the complete sprinkler assembly.
The filter is located on the botton of the sprinkler assembly and can be easily removed, cleaned and reinserted.