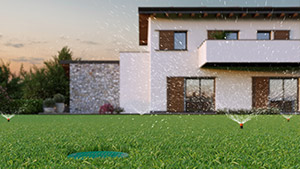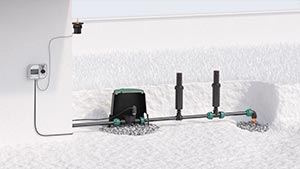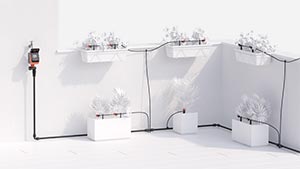
All lines
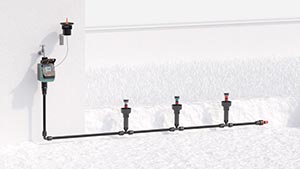
Above-ground
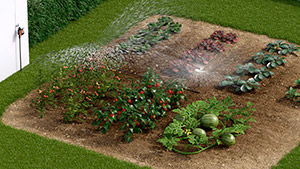
Drip irrigation

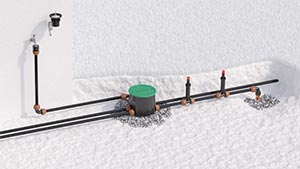
Underground
Online catalogue
The Bluetooth® rain sensor automatically interrupts the irrigation program when it rains and resumes it, at the set time, when the weather improves. It communicates with the controllers Tempo myAquaSolar (code 8497), Dual myAquaSolar (code 8498), Hydro4 BT (code 90840), Elettra BT (code 90843) and Controller4 BT (code 90842).
When the Rain Sensor container is full (rainfall of at least 5 mm/m²), it sends a stop signal to the controllers associated via the myClaber app. When the water evaporates, the Rain Sensor sends a signal to resume irrigation.
The Rain Sensor RF is installed outdoors in places exposed to rain using the dedicated bracket included in the package; screws and anchors are not included.
No electrical connections are required.
Install the rain sensor at least 12 m above ground level.
For correct operation, place the float inside the container with the special radial fins facing upward and the orange bottom facing downward.
The top cover must remain closed to prevent leaves or debris from interfering with the operation of the Rain Sensor.
1) top cover
2) internal float
3) container
4) mounting bracket
5) battery status LED
6) battery holder
7) battery housing cover
For operation, the controller requires 2 new non-rechargeable 1.5V AA (LR6) alkaline batteries.
When the LED flashes red, the batteries are running low: replace them as soon as possible.
Access the battery compartment, release the lower cover using the side tab, and remove it.
It is recommended to remove the batteries during long periods of inactivity of the Rain Sensor BT.
Dispose of depleted batteries using appropriate recycling containers.
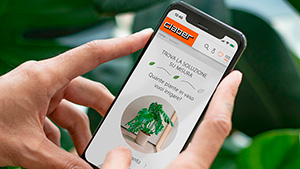
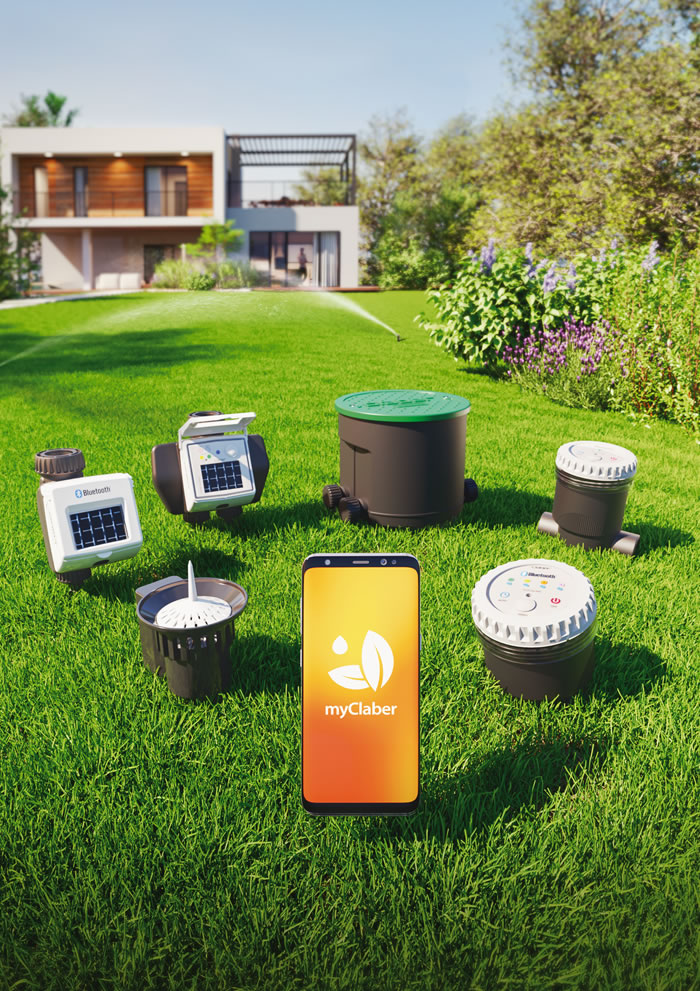
To use the product, you must have installed the myClaber app on your smartphone. The myClaber app is available on Google Play® and the App Store®.
During communication between the app and the controller, stay within 10 m of the sensor.
Before completing installation, make sure the chosen position allows the rain sensor to communicate with all devices, with sufficient Bluetooth® signal quality (min. 2 bars). Maximum range is 10 m without obstacles. If one sensor cannot cover all controllers, install more sensors.
Open the myClaber app; note that Bluetooth® must be enabled on your smartphone.
From the main screen, press “+” to add a controller.
Enter the numeric code (PIN) or scan the QR code.
This information is shown on the battery compartment of the control module; remove it from the sensor body to access it.
Open the myClaber app. Note: Bluetooth® is required; ensure it is enabled on your smartphone.
The rain sensor card will appear on the app’s main screen.
Start scanning to search for controllers available near the Rain Sensor.
Check that the signal quality indicator shows at least two bars.
Pair the Rain Sensor with one or more controllers installed in the app.
You must repeat the scan to update the communication status of the associated devices.
After pairing the controller, you must save the changes.
To view the rain sensor status, select the controller card in the app.
The rain sensor status appears on the top bar with the umbrella icon.
The sensor communicates its status to the controller every minute.
If the umbrella symbol is grey, the rain sensor is empty and automatic irrigation will occur as scheduled.
The blue umbrella symbol indicates the rain sensor is full (at least 5 mm/m2 of rainfall) and sends a stop signal to associated controllers via the myClaber App.
Once the water evaporates, the Rain Sensor will send the irrigation-resume signal.
App Store is a registered trademark of Apple Inc.
Android, Google Play and the Google Play logo are registered trademarks of Google LLC.
The Bluetooth® word mark and logos are registered trademarks of Bluetooth SIG, Inc., used under license.
Claber S.P.A. claims no rights over the third-party trademarks listed.
Place the Rain Sensor as close as possible to the controllers.
There must be NO obstacles between the Rain Sensor and the controllers.
Run the Scan phase to check the Bluetooth signal strength between the Rain Sensor and the controllers; there must always be at least 2 bars of Bluetooth signal strength.