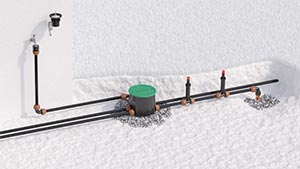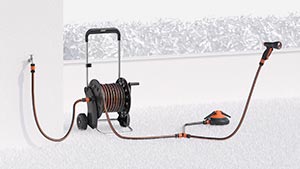
All lines
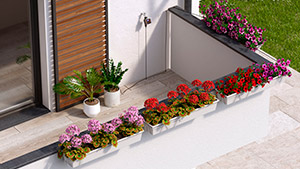
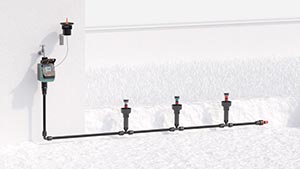
Above-ground
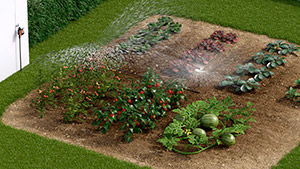
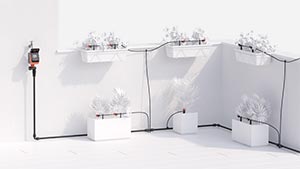
Drip irrigation

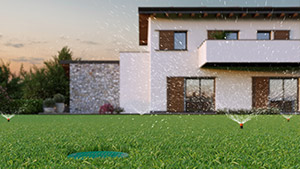
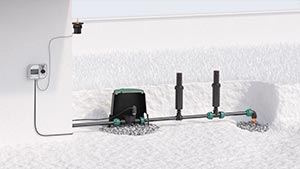
Underground

Online catalogue
Do not install the water timer inside valve boxes, below ground level or indoors. Do not use the water timer with chemicals or liquids other than water. Do not use the water timer with operating pressures lower than 0.5 bar (7.3 psi) or higher than 10 bar (145 psi).
Connect the timer to the tap.
Connect the hose on the watering line.
Press the two side buttons to open the timer.
Insert a new, branded 9V alkaline battery.
Important: remember to turn on the water tap.
All of the programme characteristics are summarised in a list provided on the protective cover. Each programme has a pre-set irrigation run time (i.e. how long to irrigate for) and frequency (i.e. how often to irrigate). Neither of these settings can be changed.
At the time you want irrigation to start, turn the dial to the desired programme.
The selected programme starts after 10 seconds. A green LED lights up during operation. When the batteries are running low, the LED is red.
The irrigation programme can be changed at any time by turning the dial to OFF.
Then turning it to the new programme you want to use at the time you want the irrigation cycle to start.
With the knob at OFF, the programme currently running will be cancelled.
You can connect the Rain Sensor (code 90915) to the timer.
Remove the bridge connector on the timer.
Insert the Rain Sensor connector.
If it starts to rain, the Rain Sensor will not stop the irrigation cycle in progress but it will stop the subsequent cycles if the level of water inside it reaches a sufficient level (at least 5 mm of rainfall). If you are not using the Rain Sensor, leave the bridge connector inserted.
Warning: if neither the jumper nor the Rain Sensor connector are connected, the timer will not run any irrigation programmes.
Clean the filter at the end of each season and check it regularly.
Turn off the water tap and loosen the screw collar, turning anticlockwise.
Loosen the 3/4" screw collar of the tap connector, turning clockwise.
Remove the filter. Rinse the filter clean under running water. After washing, reassemble all parts as before.
To clean the internal components properly, please see the
diagram showing the mechanical parts to be disassembled/ reassembled at the end of the season
.
At the end of the season, before the winter frosts, disconnect the timer from the tap.
Remove the battery.
Store the timer in a sheltered place, away from damp, where the temperature does not fall below 3°C.